All Blacks v Wallabies: Five takeaways as Cam Roigard and the Clarkes ‘star’ while Australia’s half-back issues exposed again
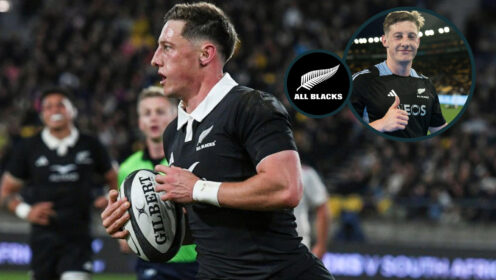
Wallabies fly-half James O'Connor (inset) and All Blacks scrum-half Cam Roigard.
Following a 33-24 victory for the All Blacks over the Wallabies at Eden Park in Auckland, here’s our five takeaways from Saturday’s Rugby Championship clash.
The top line
New Zealand put their thrashing by the Springboks behind them as they delivered a crucial win in the Bledisloe Cup at Eden Park.
Cam Roigard was the star of the show, grabbing two tries in a memorable return to the black jersey, but the All Blacks will thank the impact of their bench, and in particular the superb Quinn Tupaea, for resisting another wonderful second half comeback from their arch rivals.
The All Black tries came from Caleb Clarke, two from Roigard and one from Leroy Carter, with Australia replying through hooker Billy Pollard, wing Harry Potter and replacement flank Carlo Tizzano, as the match went right down to the last 10 minutes.
One stat that really underlines the difference between the two sides was the superiority of New Zealand in their defensive work; in a match full of running they missed only 12 attempts, a fantastic 93% return on their defensive shift. Australia, will be gutted with their showing, forced to make 232 hits in defence but missing 39 tackles, something that will really concern their coaching team and a key influencing statistic on a fine advertisement for test match rugby.
Running exhibition
The fans that attended this match will be delighted in the attractive manner both teams approached the clash. The continuity and width of both backlines demonstrated real ambition with ball in hand, with the All Blacks showing exemplary precision in getting momentum into their ruck game.
New Zealand carried a mighty 534 metres from 163 attempts, with Jordie Barrett leading the way with 19 carries for 60 metres made, and Wallace Sititi supporting well in close contact with 14 carries for 48 hard metres. Notably, NZ made 437 post carry metres and again, that alludes to issues with the Australian defensive work.
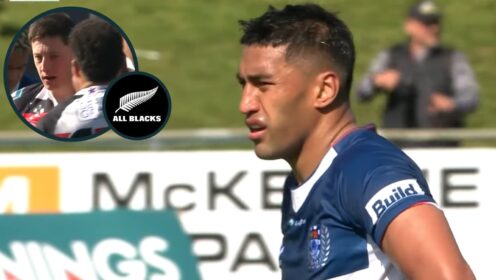
To their credit, the Wallabies weren’t to be outdone and they crossed the 350 metres carried mark with Len Ikitau starring off pop passes to straighten the line into contact with 12 hammering efforts, and back-rows Harry Wilson and Tom Hooper matching him carry for carry, grabbing a dozen apiece.
However, 15 penalties at Test level, including seven on the bounce, is a massive concession in the Test arena; factor in 12 unforced errors in handling, a yellow card for Harry Potter and their defensive frailties and it’s that old combination of concentration errors and indiscipline that cost Australia any form of foothold in this match.
Roigard and the Clarkes
Two returns to the All Black family punctuated the early proceedings.
A special moment before kick off saw former New Zealand centre Eroni Clarke giving the crowd, and his son, Caleb, a wonderful rendition of God Defend New Zealand. Naturally, Caleb responded in true All Blacks style by opening the scoring for his country with a well-worked try down the left hand touchline. Word is, Clarke junior had no idea his old man was going to be the star of the pre-match and a wonderful moment was shared between All Blacks old and new.
But the other return was one more tactically based; Cam Roigard, out for some time with knee issues, returned to the coveted number nine shirt and it was his influence, with razor sharp ruck recycling and some outrageous dummies around the fringes, that really galvanised the line speed and width of the New Zealand attack.
Roigard is a spiky and intelligent player – and his ability to get his runners off his shoulder, distribute at pace and also challenge the sides of the ruck offers a complete package way ahead of his challengers for his position. His comeback added so much shape to the coast to coast approach of Razor Robertson’s attacking systems and there’s little doubt he’s the best available half back New Zealand have.
Breakdown indiscipline
Whilst the Roigard-powered All Black game with ball in hand looked slick, their failure and error count around the breakdown will be of huge concern to their coaching team.
Referee Andrea Piardi had a fine match, and his interpretation of the contact area was on point, but even he tired of the number of silly lateral ruck clearances, illegal jackals and sealing off of the ball committed by the New Zealand pack.
Tupou Vaa’i was the worst culprit, committing three lateral clear outs that were so obvious one could be forgiven for thinking he’d been supplied with a faulty compass before kick off. The Kiwi error count got as high as eight consecutive indiscretions, something that they’ll want to fix before their return meeting on October 4, taking any form of continuity away from their superb handling and width in their attack running.
Perhaps one of the issues was a lack of a real power carrier in the collision, causing their forwards to overcompensate to win the battle on the floor, but one man that won’t get criticised was the outstanding Ardie Savea – liberated by his switch to the openside – who managed some superhuman work both on the jackal, where one of his steals stopped a certain try, and with ball in hand around the fringes, where his carrying was outstanding.
Aussie half back issues
When Tate McDermott went off with a busted hamstring in the first half, rugby fans around the world half expected Nic White to arrive by helicopter onto the pitch with an announcement that he’d once again come out of retirement to answer the usual Wallaby scrum half SOS. However, no such luck for the Aussies as Ryan Lonergan trotted on for his debut, only to struggle early on with his kicking game and his distribution under pressure from the All Black fringe defence, before improving in the second half as he found his Test feet, with one touch clearance of his left foot hitting an outstanding 60 metres off a restart.
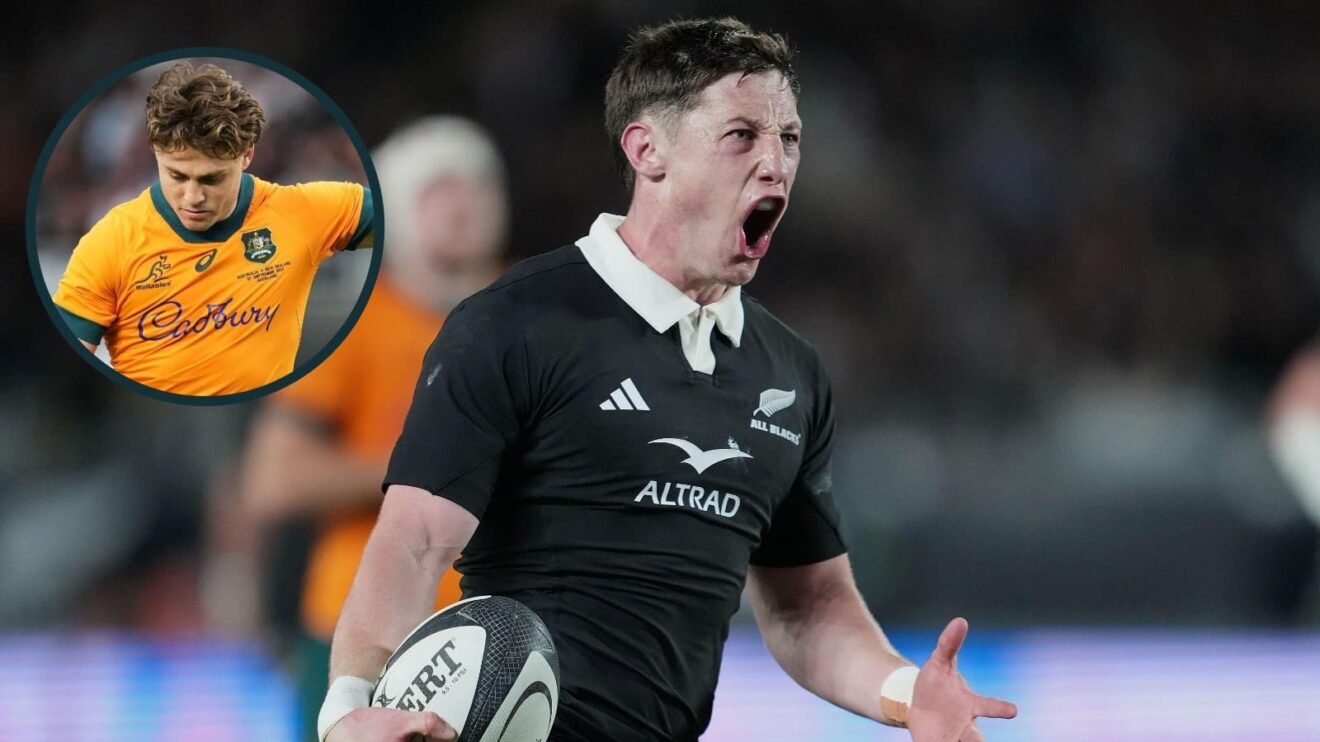
Alongside their injury issues at nine, the Wallaby 10 shirt has been a bit of a revolving door this season, with injuries and selectorial whims seeing four players employed during this 2025 Rugby Championship campaign. James O’Connor had jetted in from Leicester Tigers to answer a late call up but for all O’Connor’s silky running, his kicking game is simply not up to the levels needed to control a Test match.
Yes, Australia came back well with yet another impressive second half display, but O’Connor’s missed touch kicks, poor restarts and inaccuracy kept handing back momentum to the New Zealand attack. Kick precision is key in the cauldron of modern Test rugby, and whilst Australia have some outstanding players with ball in hand, a wonderful classical Joe Schmidt pop carry phase structure off the shoulder of nine, their lack of territorial control was their downfall in this loss and O’Connor was the main culprit of that failure.