Five takeaways from Bledisloe II including Richie Mo’unga and the ‘Australian way’



All Black star Shaun Stevenson with ball in hand against Australia.
Following the All Blacks’ thrilling 23-20 win over the Wallabies in Bledisloe II, Planet Rugby has put together five takeaways from the Dunedin clash.
Game of two halves
The second Bledisloe Test of the year was almost completely split in two with the Wallabies flying out of the blocks and controlling the first 20-30 minutes of the clash in a period where the All Blacks were run off their feet and had no answers.
The flip side showed after the break as the All Blacks began to claw their way back from a 14 point deficit. The hosts quickly found their rhythm and after several waves of relentless attack got their reward through tries on debut for Shaun Stevenson and Samipeni Finau – who were both outstanding.
It set up a brilliant finish but the All Blacks had more composure in the closing stages and snatched the win beautifully.
🇳🇿 Richie Mo'unga is the hero as the All Blacks snatch the win after a stunning second half comeback! #NZLvAUS #BledisloeCup pic.twitter.com/Y9nmNktXyV
— Planet Rugby (@PlanetRugby) August 5, 2023
All Blacks have their answer at 10
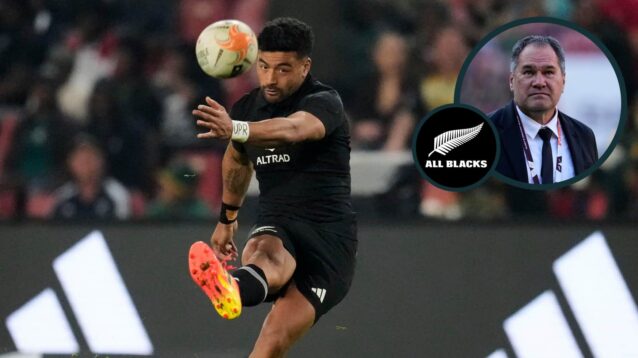
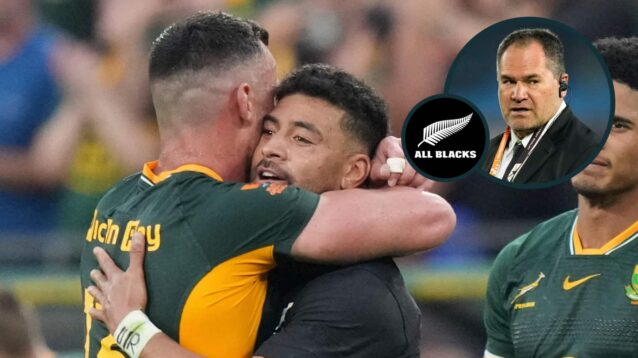
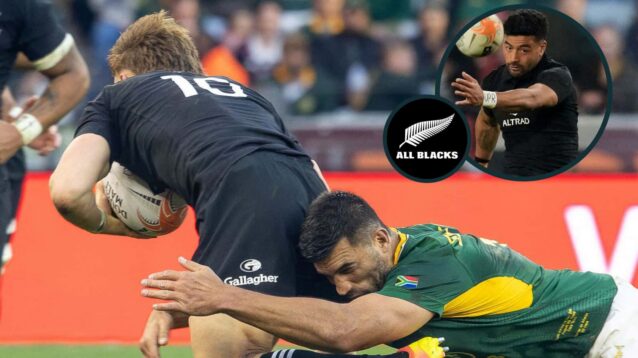
The player on hand to snatch the win right at the death was none other than Richie Mo’unga, who showed impressive composure to slot the winning penalty. It was not just his composure off the tee that was evident but also how he orchestrated the last 30 minutes to put the side in a winning position, to begin with.
Damian McKenzie is a quality player and had one notably good touch when he shovelled a long pass out to Stevenson for his try. However, apart from that the Chiefs playmaker did not find any solutions for his team when they were under pressure. Inaccurate kicking at times did not help release any pressure either.
It is not to say that ‘D-Mac’ is not up for it at Test level, it is just to say that right now, heading into the Rugby World Cup, Mo’unga is undoubtedly the man for the All Blacks 10 shirt.
Selection headache in the All Blacks second-row
It was only last week that the rugby world could not speak more highly of Scott Barrett after a truly brilliant performance against the Wallabies and now this time around, veteran Sam Whitelock followed that up with a blockbuster effort of his own.
Sam Whitelock, take a bow son. Massive shift from him.#NZLvAUS
— Eamon (@Mondo512) August 5, 2023
The second-row was absolutely everywhere, causing havoc in the line-outs and the breakdown (particularly in the second half). Influential is an understatement for his efforts in Dunedin.
That brings about the question of how to fit all the quality second-rows into the same team. Brodie Retallick left the field with an injury but the change looked to be mostly precautionary although that is unclear. Assuming he is fit, Ian Foster is spoilt for choice as to whether to throw more time into the legendary Retallick-Whitelock pairing or to give the in-form Barrett a starting role.
It is a good problem to have heading into the World Cup.
Eddie Jones’ ‘Australian way’ showed
The record will show another defeat in the second stint with Eddie Jones at the helm of the Wallabies. However, this was a very encouraging performance for the Australians. The first 20 minutes was executed perfectly. The veteran coach has spoken of the instinctual, fast and brutal kind of style he sees as the ‘Australian way’ and it showed.
Once the contact area was controlled by the Wallabies, the game drivers like Tate McDermott and Carter Gordon steered the team so well around the park by choosing the right runners and keeping a high tempo.
In the end, the side fell off and lost but during that period the All Blacks had no answers. Jones will hope now that his players have had a glimpse of how effective it can be if they find a way to perform like that for long periods of the game. If the Wallabies can manage that by the World Cup they could certainly rock the boat.
😤 TOM HOOPER! So much power. The Wallabies have started well in this one! #NZLvAUSpic.twitter.com/xakMEAl1FL
— Planet Rugby (@PlanetRugby) August 5, 2023
Wallabies must invest time into this half-back pairing
Part of why that period was so effective was the half-backs who work very well as a pair. The dynamism and pace McDermott and Gordon offer over Nic White and Quade Cooper is obvious.
The biggest risk is inexperience, particularly with Gordon. This means he will come with the mistakes he made today at times but his fearlessness and will to attack makes him a very attractive player. The Rebel has gone from a Super Rugby playmaker to one of the most important Wallabies in the squad at the moment.
Meanwhile, a specific mention of McDermott leading the side in this clash is deserved, like his partner he has quickly shot up the pecking order.
READ MORE: All Blacks’ second half fightback floors the Wallabies in Bledisloe Cup thriller in Dunedin